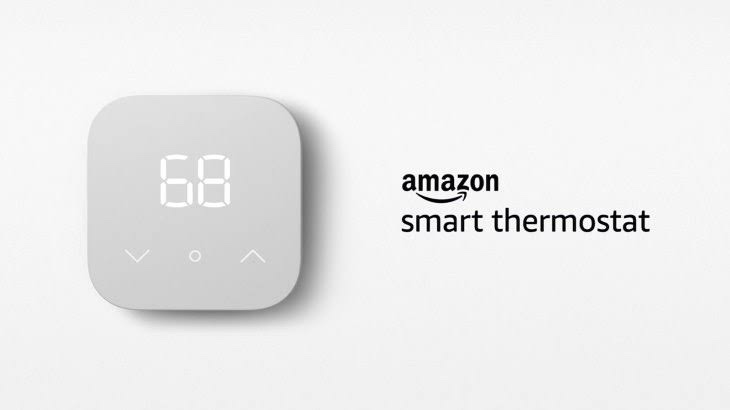
Installing a smart thermostat in your home can be a great way to save money on your energy bills, as well as increase the overall comfort of your home. With a smart thermostat, you can control the temperature of your home remotely, schedule temperature changes, and even track your energy usage. However, the process of installing a smart thermostat can seem daunting for those who are not familiar with home wiring. In this guide, we will walk you through the process of installing a smart thermostat in your home, so that you can start enjoying the benefits of this technology as soon as possible.
Before you start the installation process, there are a few things you will need to check and prepare:
- Compatibility: Make sure that the smart thermostat you have chosen is compatible with your current HVAC system. Most smart thermostats will work with most HVAC systems, but it is always best to double check before purchasing.
- Tools: You will need a screwdriver, wire stripper, and wire nuts for the installation process.
- Wi-Fi: Make sure that your smart thermostat is connected to a Wi-Fi network, as this is necessary for remote control and monitoring.
Step 1: Turn off the power to your HVAC system Before you begin the installation process, it is important to turn off the power to your HVAC system. This can typically be done by turning off the breaker switch in your electrical panel.
Step 2: Remove your old thermostat Remove the cover of your old thermostat and take a picture or write down the wire connections. This will be helpful when connecting your new thermostat. Carefully remove the thermostat from the wall, making sure not to damage any of the wires.
Step 3: Connect the wires to your new thermostat Match the wires from your old thermostat to the corresponding wires on your new thermostat. Use wire nuts to connect the wires together. If your new thermostat has a “C” wire, and your old thermostat did not, you will need to install a new “C” wire.
Step 4: Mount the new thermostat Mount the new thermostat onto the wall, making sure that it is level. Use the screws and anchors provided with the thermostat to secure it in place.
Step 5: Power on the HVAC system Turn the power back on to your HVAC system and test the thermostat to make sure it is working properly.
Step 6: Connect to Wi-Fi Follow the manufacturer’s instructions to connect your new thermostat to your home’s Wi-Fi network. This will allow you to control and monitor your thermostat remotely through a smartphone or tablet.
By following these steps, you should now have a fully functional smart thermostat in your home. Enjoy the benefits of being able to control the temperature of your home remotely, schedule temperature changes, and track your energy usage. If you encounter any issues during the installation process, don’t hesitate to reach out for help or consult the manufacturer’s support.